Posted by Rack Attack on 12-02-2011 under Vehicles
Mazda 3 Roof Rack - Thule 460 Podium

Mazda 3 Roof Rack - Thule 460 Podium

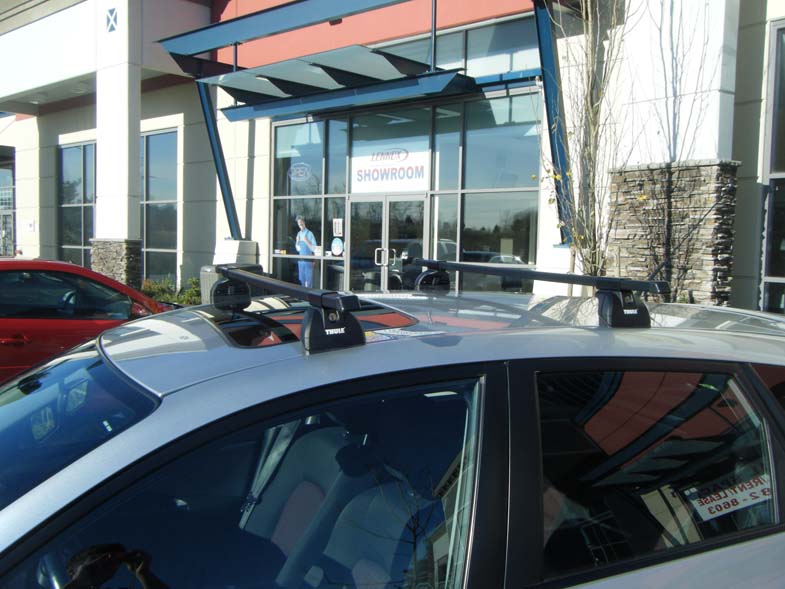
Today at Rack Attack Coquitlam we installed a Thule 460 Podium rack.

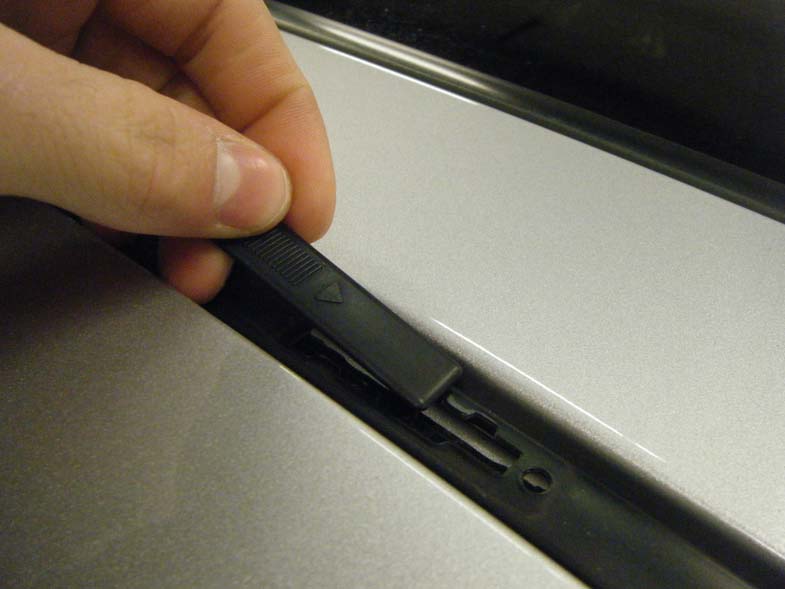
The Thule 460 Podium is a 'Fixed Point' rack system that allows the user to easily install a rack onto his or her vehicle without having to clip it into the door jams. This gives your rack a clean factory look that doesn't get in the way of anything.  It looks so good you keep it on all season!

Other manufacturers use this or a similar system. Makes like Mercedes, BMW, newer Subaru's  and some Honda models as well. Most applications give you up to a 165lb weight capacity.

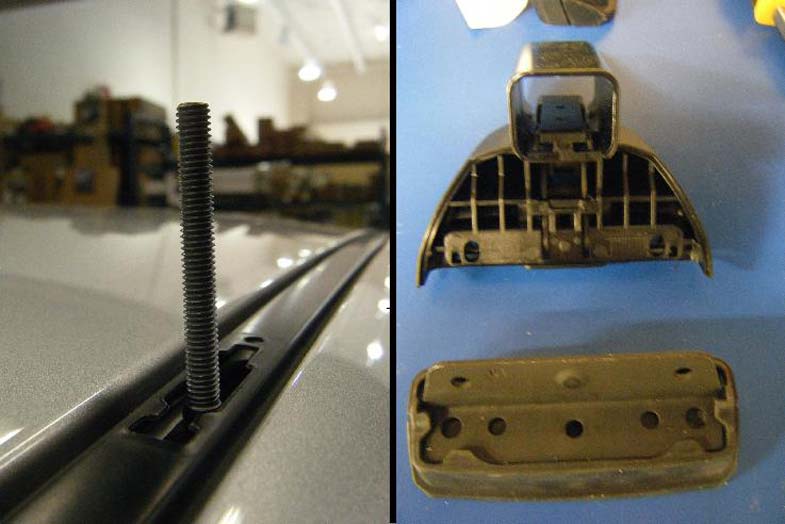
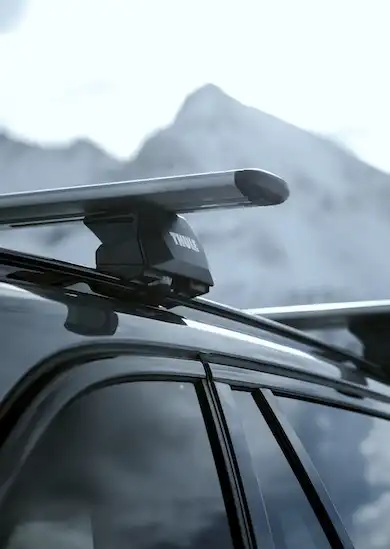
I own a Mazda 3 and I use the exact same system except I use a variation of the Podium, I use to Podium 460R, which can be seen below on the right. The only difference is that instead of using the Classic Thule Square Bars, Im using the Thule Rapid Aero Bars which require a 460R foot pack. This setup makes the bars more aerodynamic and quieter with a fairing. It also looks more modern on newer vehicles.


What you need:
So how exactly does this rack mount to a Mazda 3? *****If you are not a DIY kind of person, do not attempt this install, leave it to the professionals for best results. The process starts with Removing the doors on the top of your Mazdas roof track to get to the threaded portion of your frame. With small tools, in the direction of the arrow, this is very easy.  Some earlier models of Mazda will not have these doors, but rather need to be punched through as the threaded portion is on the other side of it. Thread in the rod into the threaded portion of your frame.


After you've done that and assembled your 460/460R Podium foot pack and fit kit according to the instructions, loosely so you can adjust it once its on your roof, you can place the foot pack onto your roof and align the bars to make sure you have the same amount of overhang on both sides.


After you've done that, you can now place the lock washer over the threaded rod and the nut on the end and tighten it to a tight torque but no more than you are capable of making with your wrists strength and using the tool provided in the box.


Once you have these tightened down you can evenly tighten the foot pack allen key bolts to a nice tight torque by hand.  Do little bits at a time on each bolt to avoid an misalignment & over-tightening. Put on the protective cover and turn in the locking core and you are done!


Follow these steps for all of the footpacks and you will be done in no time. Here it is!


Any ski, bike, kayak, fairings or accessories can be added later.