


January 18, 2013
Rack Attack Team
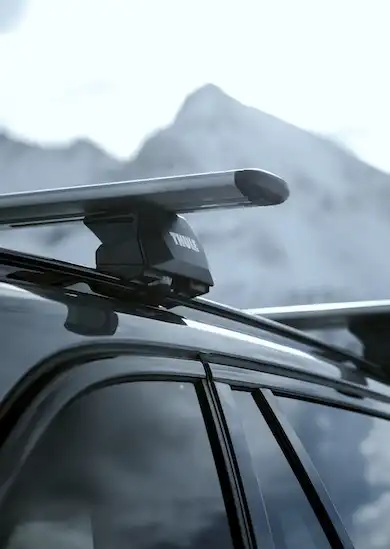
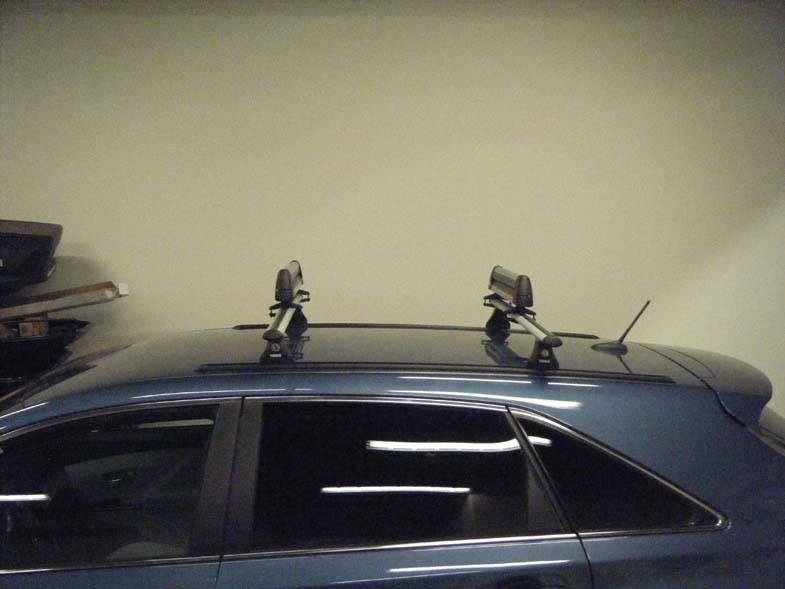
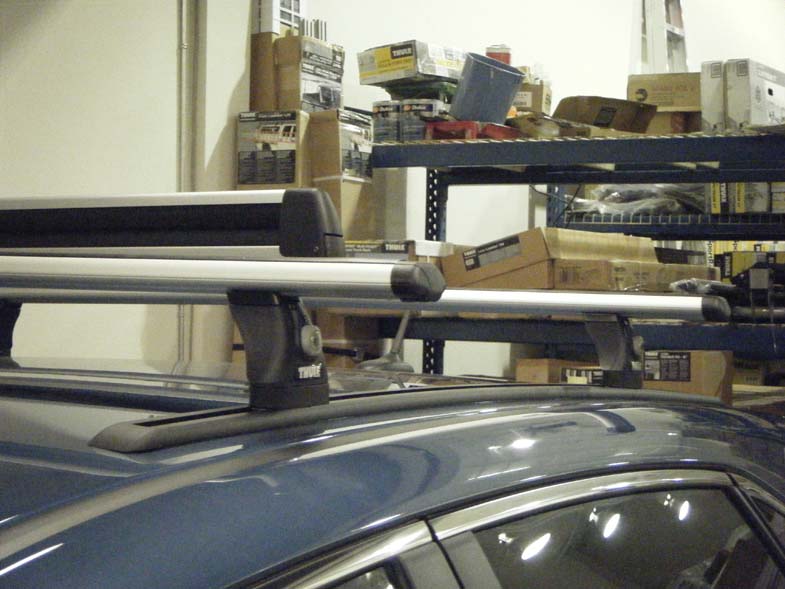
Today at Rack Attack we installed the Thule 430R track system on a new Toyota Venza, with a Thule Flat Top 6 Ski Rack. The track system for a base rack choice is the best system to go with on your vehicle. What it does is provide you with a fully adjustable track, mounted permanently to your roof with a clean, guaranteed leak free, factory looking roof rack.
In this case we chose the Thule 430R System. It is equipped with the Rapid Aluminum Bar for look as well as Aerodynamics.
As mentioned before at Rack Attack, we do have a No-Leak Guarantee, and the reason for that is the measures in which we go to protect the installation, which I will explain here.
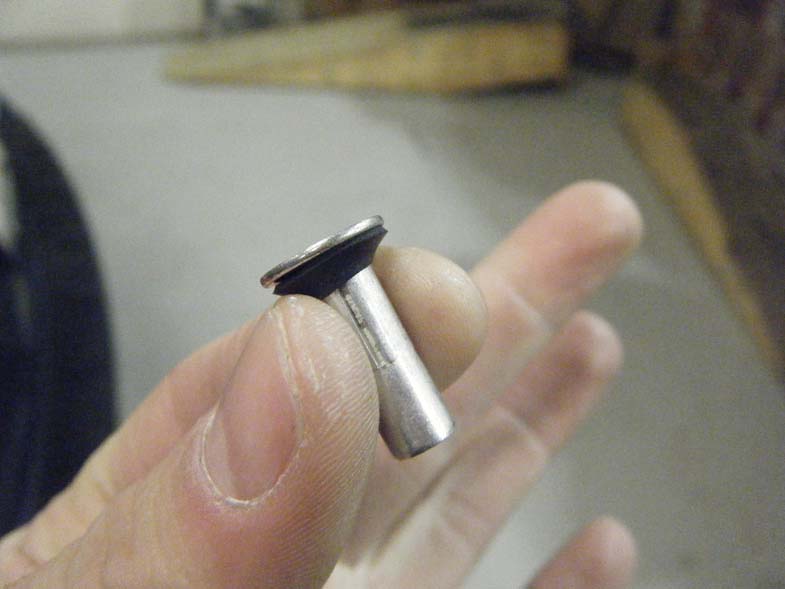
The track installation starts with these little guys; 'Plus Nuts'. After Drilling into the roof of the vehicle we slide these in and use a special plus nut tool to expand the nut below the surface of the sheet metal tight to create the anchor on the roof. The rubber washer is an add on to prevent damage to the surface of the roof, to create a grip, and the first stage of preventing leaks.

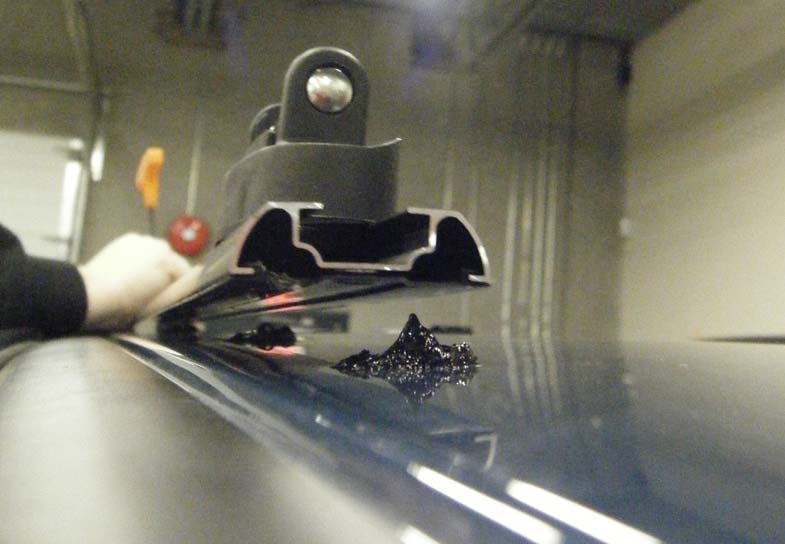
Once this is complete we apply a sufficient amount of silicon sealant around the base of the of the plus nut to not only provide further leak protection but to harness the hardware down as well.
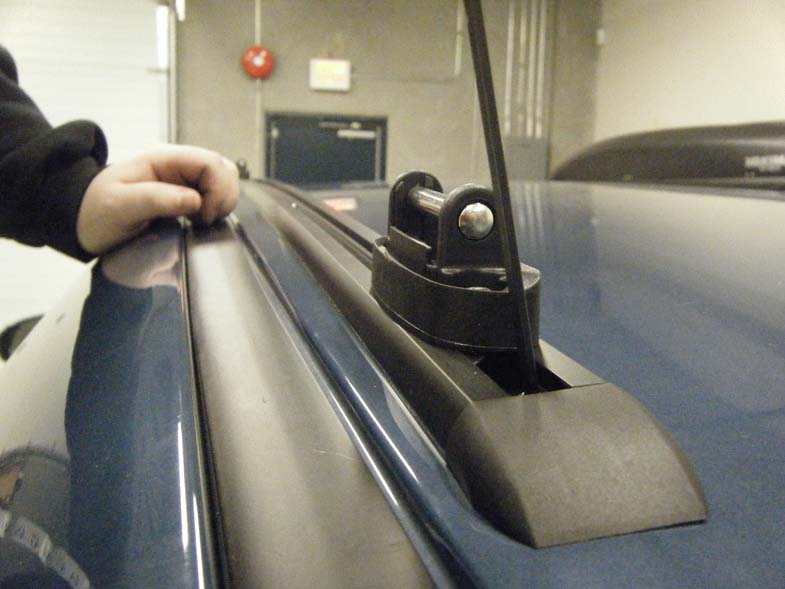
The feet you see in the track in the picture above clip in and out and slide back and forth for the adjustment. The track can now be secured down and end caps installed with the appropriate hardware. The track now being installed the silicon must set and cure and will create a seal for the Leak-Free Guarantee.
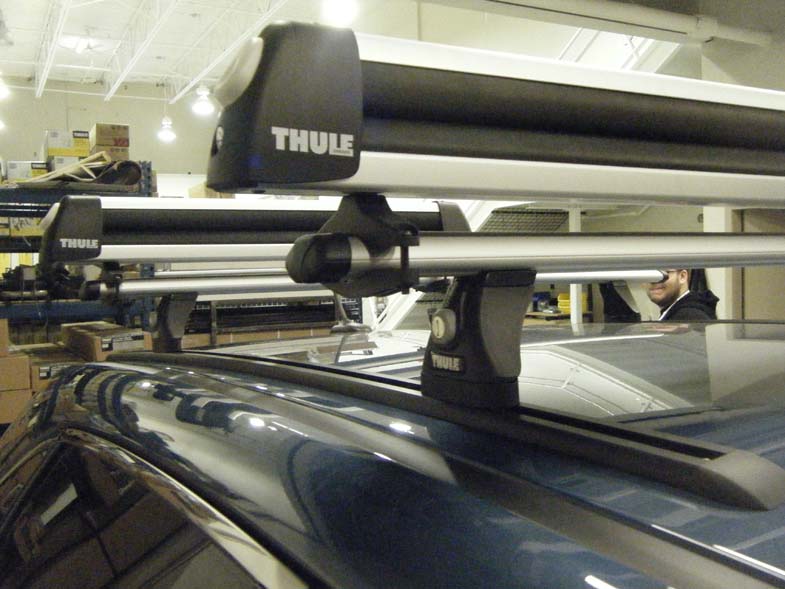
Now we are able to put mount the cross bars to the feet. And then its done!
If you would like this same set up, its available for nearly every Make and Model of car.